
Adobe Premiere Pro’s new Speech to Text functionality adds a great way for small or low budget productions to quickly and easily get usable transcripts of their content.
Today, I will be providing a quick run down of how to use Premiere Pro’s speech to text.
Getting Started
One of the first things to note, is that right now Premiere can transcribe sequence content, but not stand alone clips. This means that if you want to get a single interview clip transcribed, you need to cut it into a sequence first.
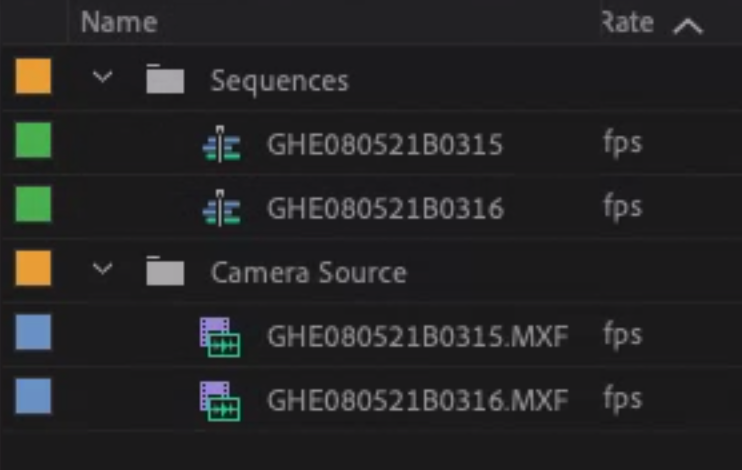
The first thing to do is import your media into Premiere and organize it to your needs. In my case, I will have a bin of source media and a bin for sequences.
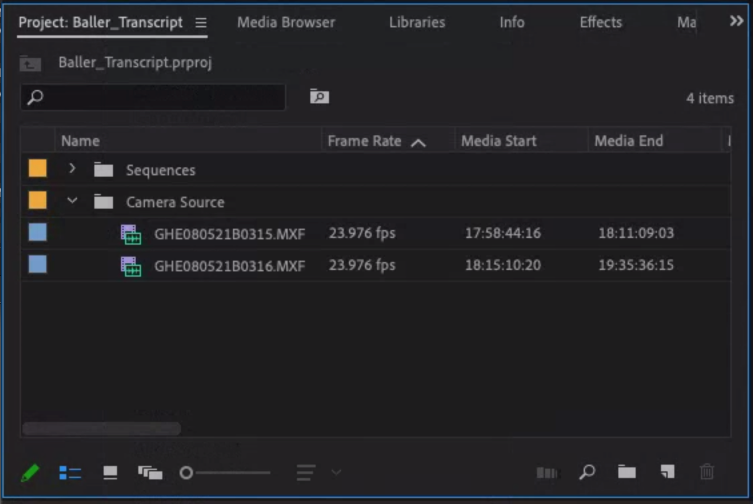
If the interview consists of a multiple clips you can lay them all out in the same sequence based on timecode. In this instance, these two clips are actually two separate interviews, so I will create a separate sequence for each. I will then name the sequence to match the clip.
Next, cut in your interview clip into its matching sequence. I would also recommend taking the time to remove any unused audio tracks from the sequence to help ensure accurate results.
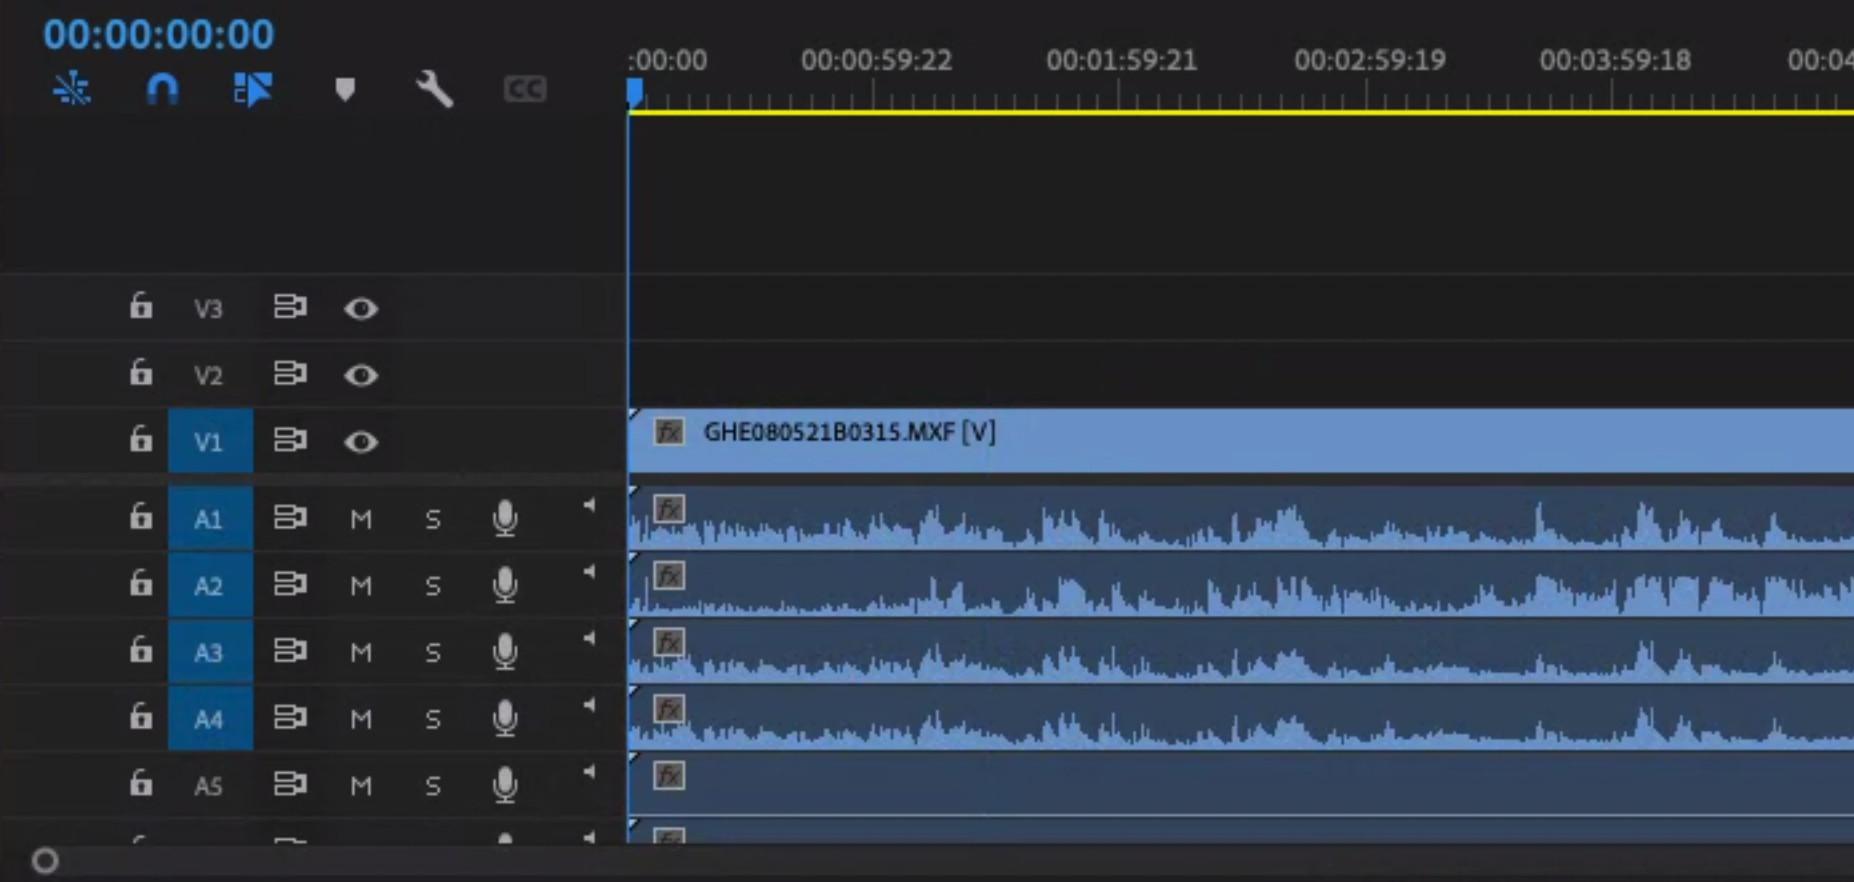
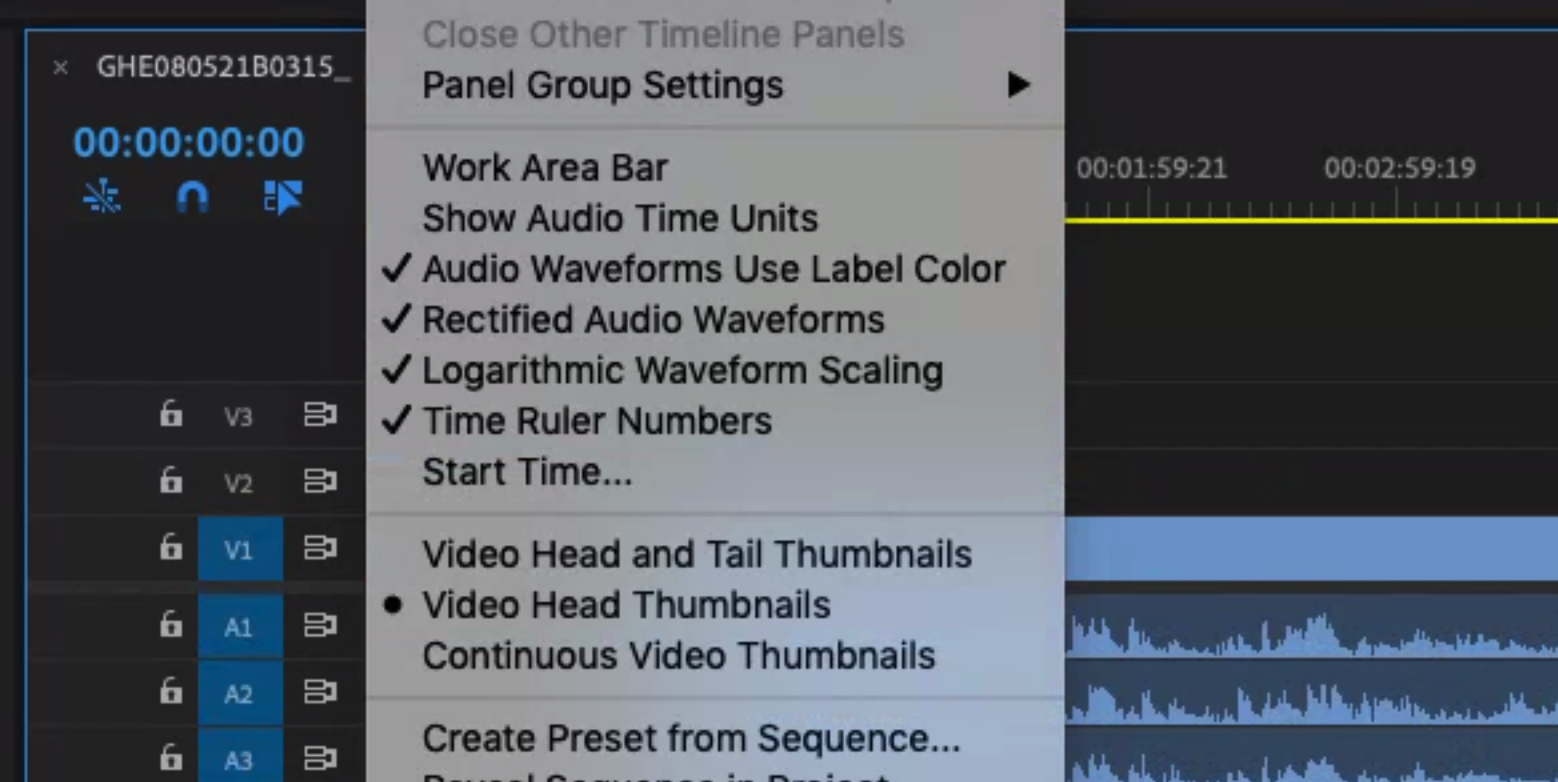
To ensure that the transcriptions have accurate timecode based on the source media, you should update the sequence’s starting timecode to match the starting timecode of the clip we are transcribing. Simply click the hamburger menu at the top of the timeline and select Start Time… In the window that appears, enter the Start Time code of the camera source media and click OK.
Transcribing The Sequence
Now that we have our sequence prepped, we can send it up to Adobe for them to work their transcription magic.
First, you will need to bring up the new Text tool. If it is not already open, you can open it easily from the Window drop down menu.
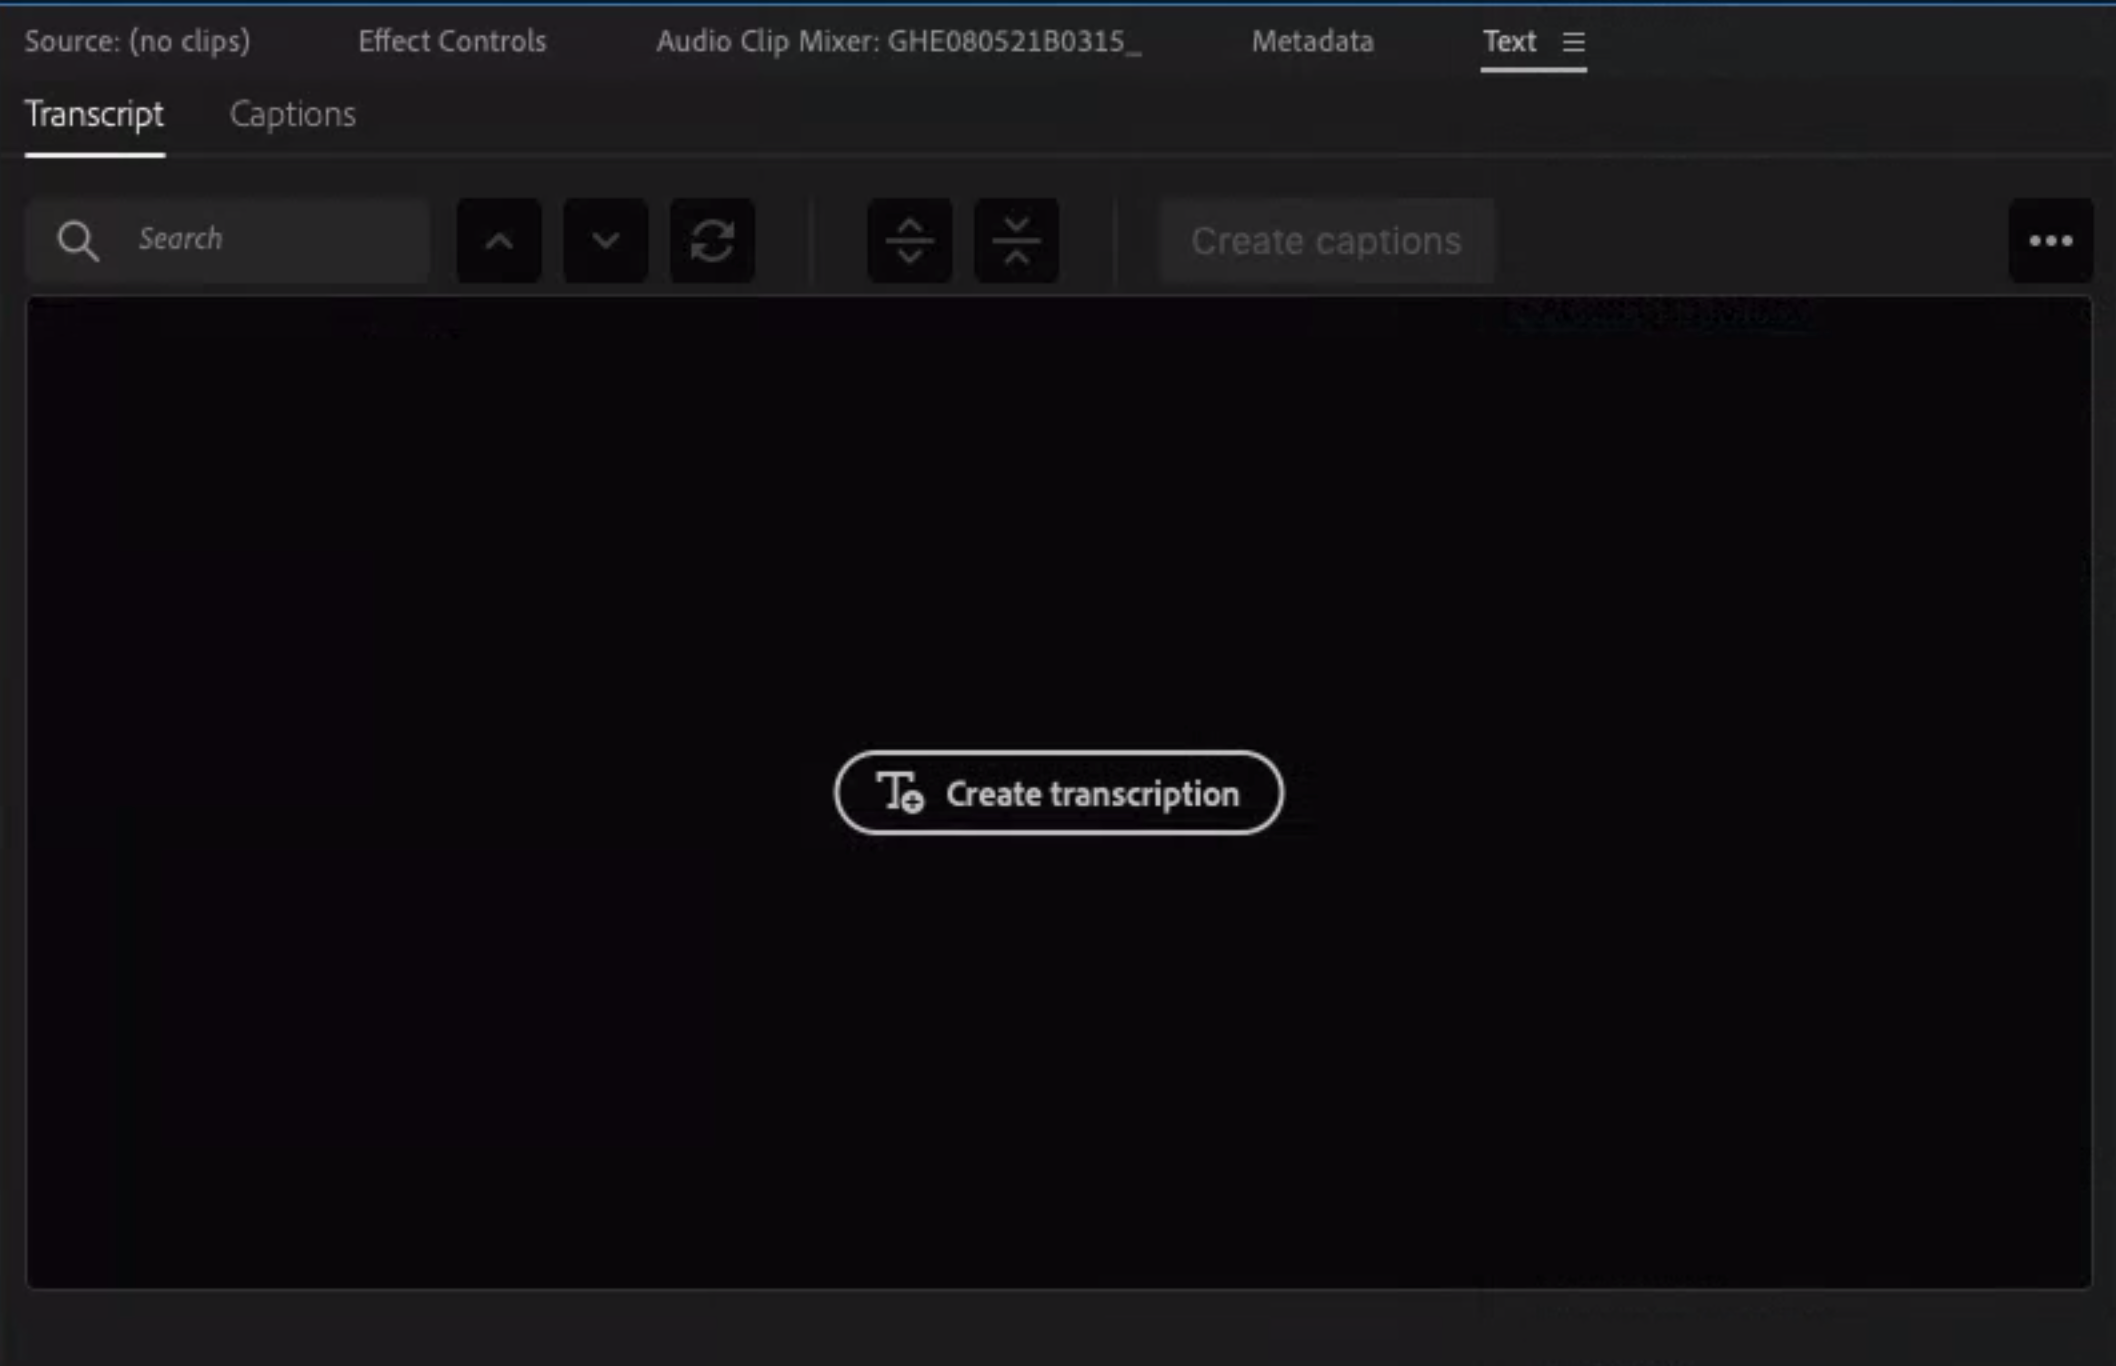
When you open the Text tool you will see a button labeled Create transcription. After clicking that button, a new window appears allowing you to tweak some settings depending on the content of the interview.
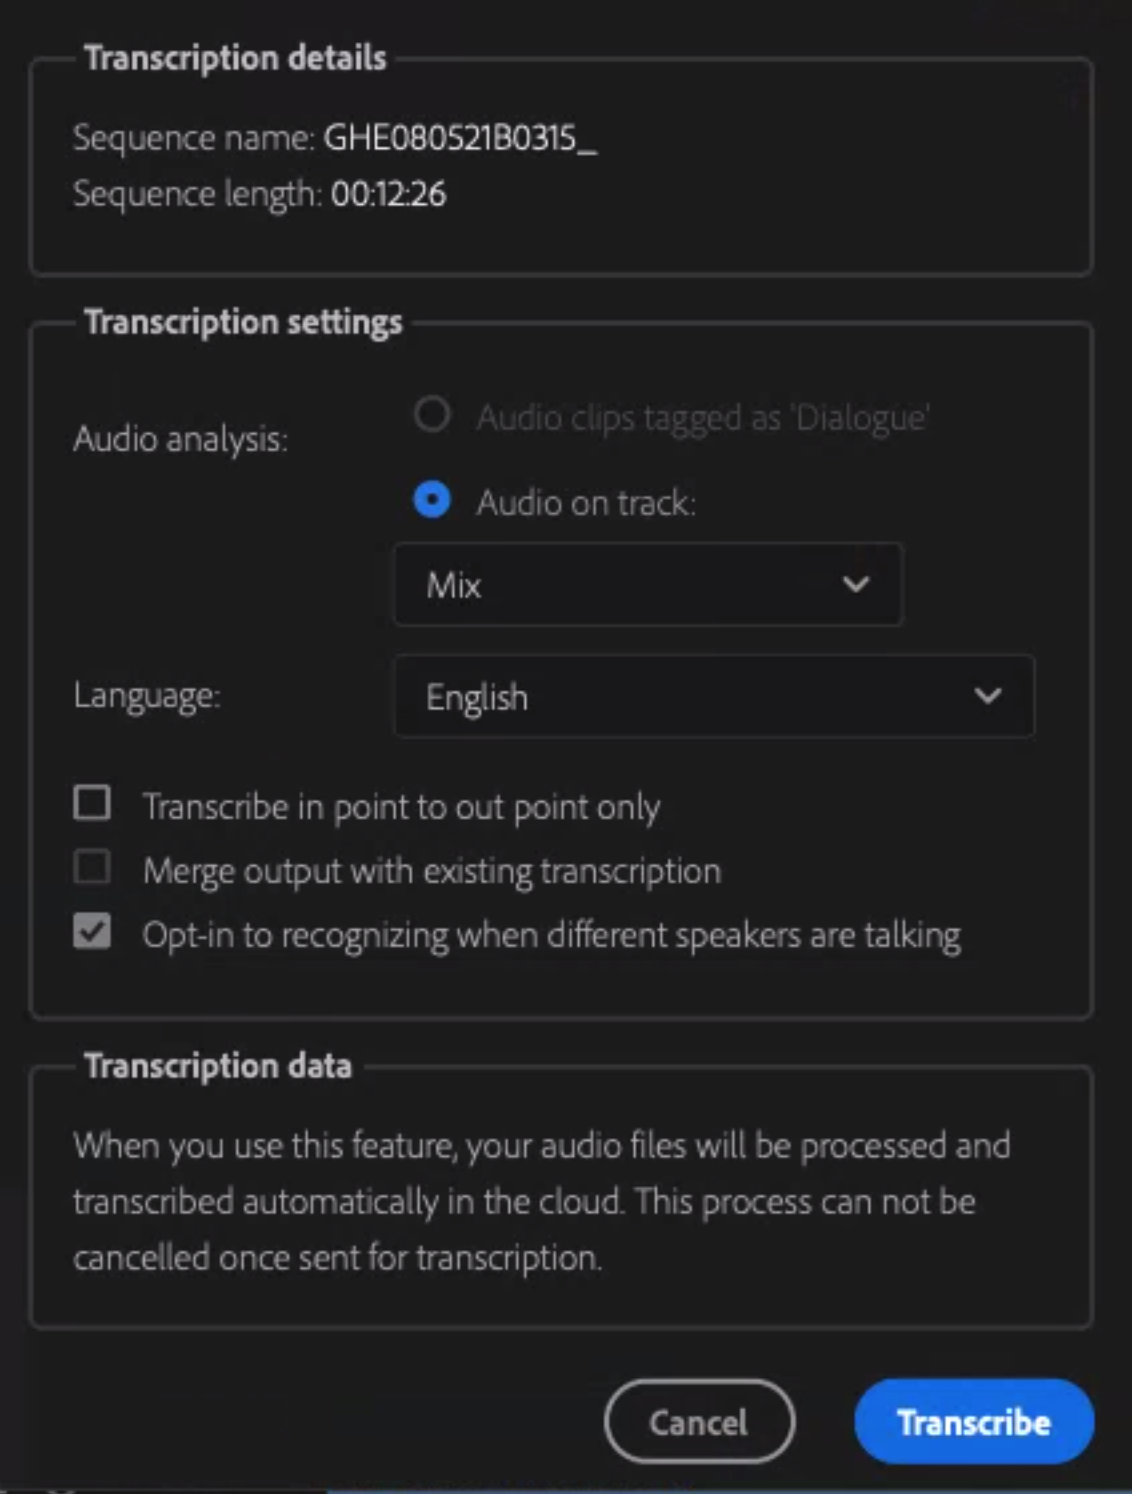
You will have the option to an analysis either on a full mix of all the audio tracks in the sequence, or a single specific track. If you have talent on multiple audio tracks, you will want to select “Mix”. This is where it becomes beneficial to pre-prune extraneous audio tracks from your sequence. If you do not, and your talent is on multiple tracks, then Premiere will need to analysis all audio tracks and it could lead to some inaccurate transcription results.
You will also have the options to transcribe a portion of the selected sequence by selecting “Transcribe in point to out point only” or opt-in to multi-speaker detection.
Click the big blue Transcribe button when ready and sit back while Premiere takes over, renders, uploads, analyzes the audio, and sends a transcript back down.

NOTE: I was able to cut in multiple interview sequences and begin the transcription process while another was still processing, but in some instances Premiere did lose track of what was transcribing. I would not recommend doing more then one or two at a time.
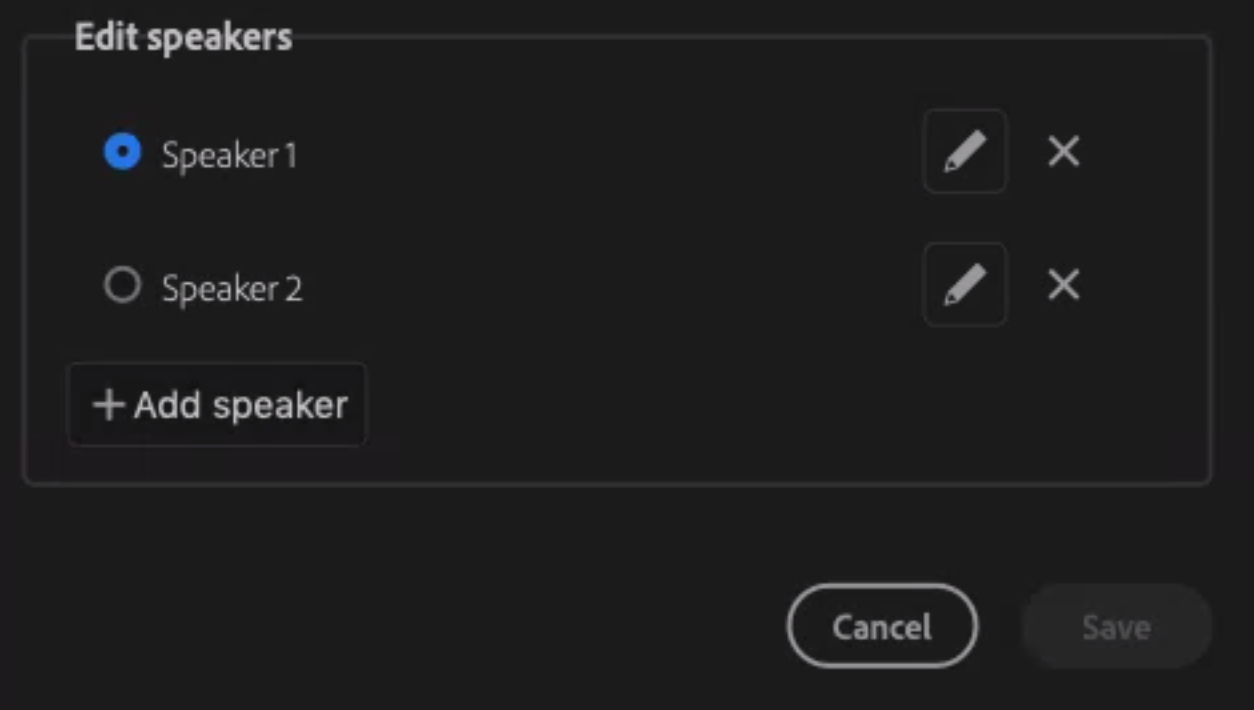
Once the process completes, Premiere will present you with a Transcript with reference timecode, and if you selected the option to detect multiple speakers, a Speaker ID reference at the left side of each block of text. You can click on the Speaker ID and adjust which speaker matches that line of text (if Adobe made a mistake), or you can select Edit Speakers and replace “Speaker 1” or “Speaker 2” with the actual talent names.

NOTE: When exporting your transcripts as plain text files for use in a third party program, speaker IDs and timecode are not included.
When playing back your sequence, the transcript will auto scroll to match the current timecode. Like Avid’s ScriptSync capability, double clicking on a word in the transcript will jump the playhead to that portion of the sequence.
Generating Captions
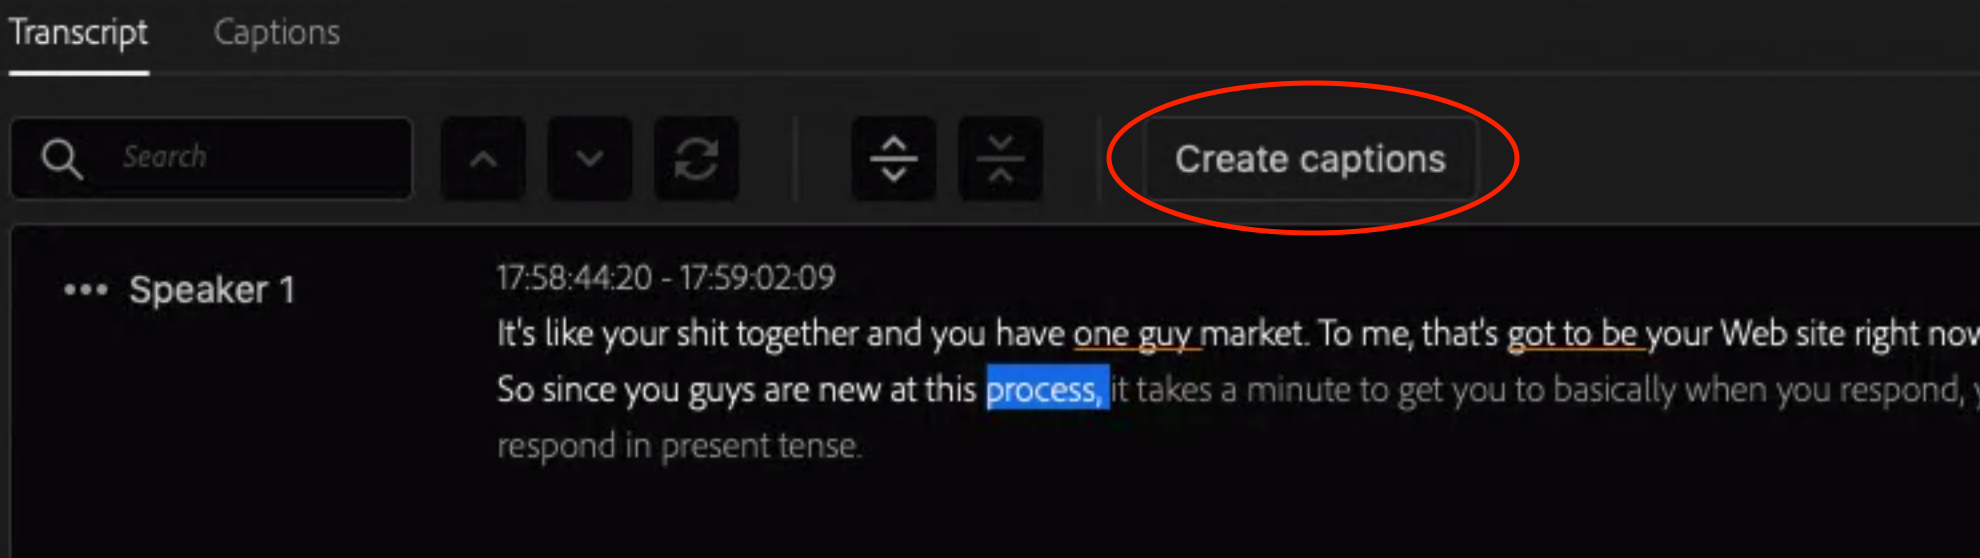
Now that we have our transcript generate, Premiere can automatically generate synced captions for your video file. Simply click on the Create Captions button in the Transcript window.
In the window that appears, select “Create from sequence transcript”.
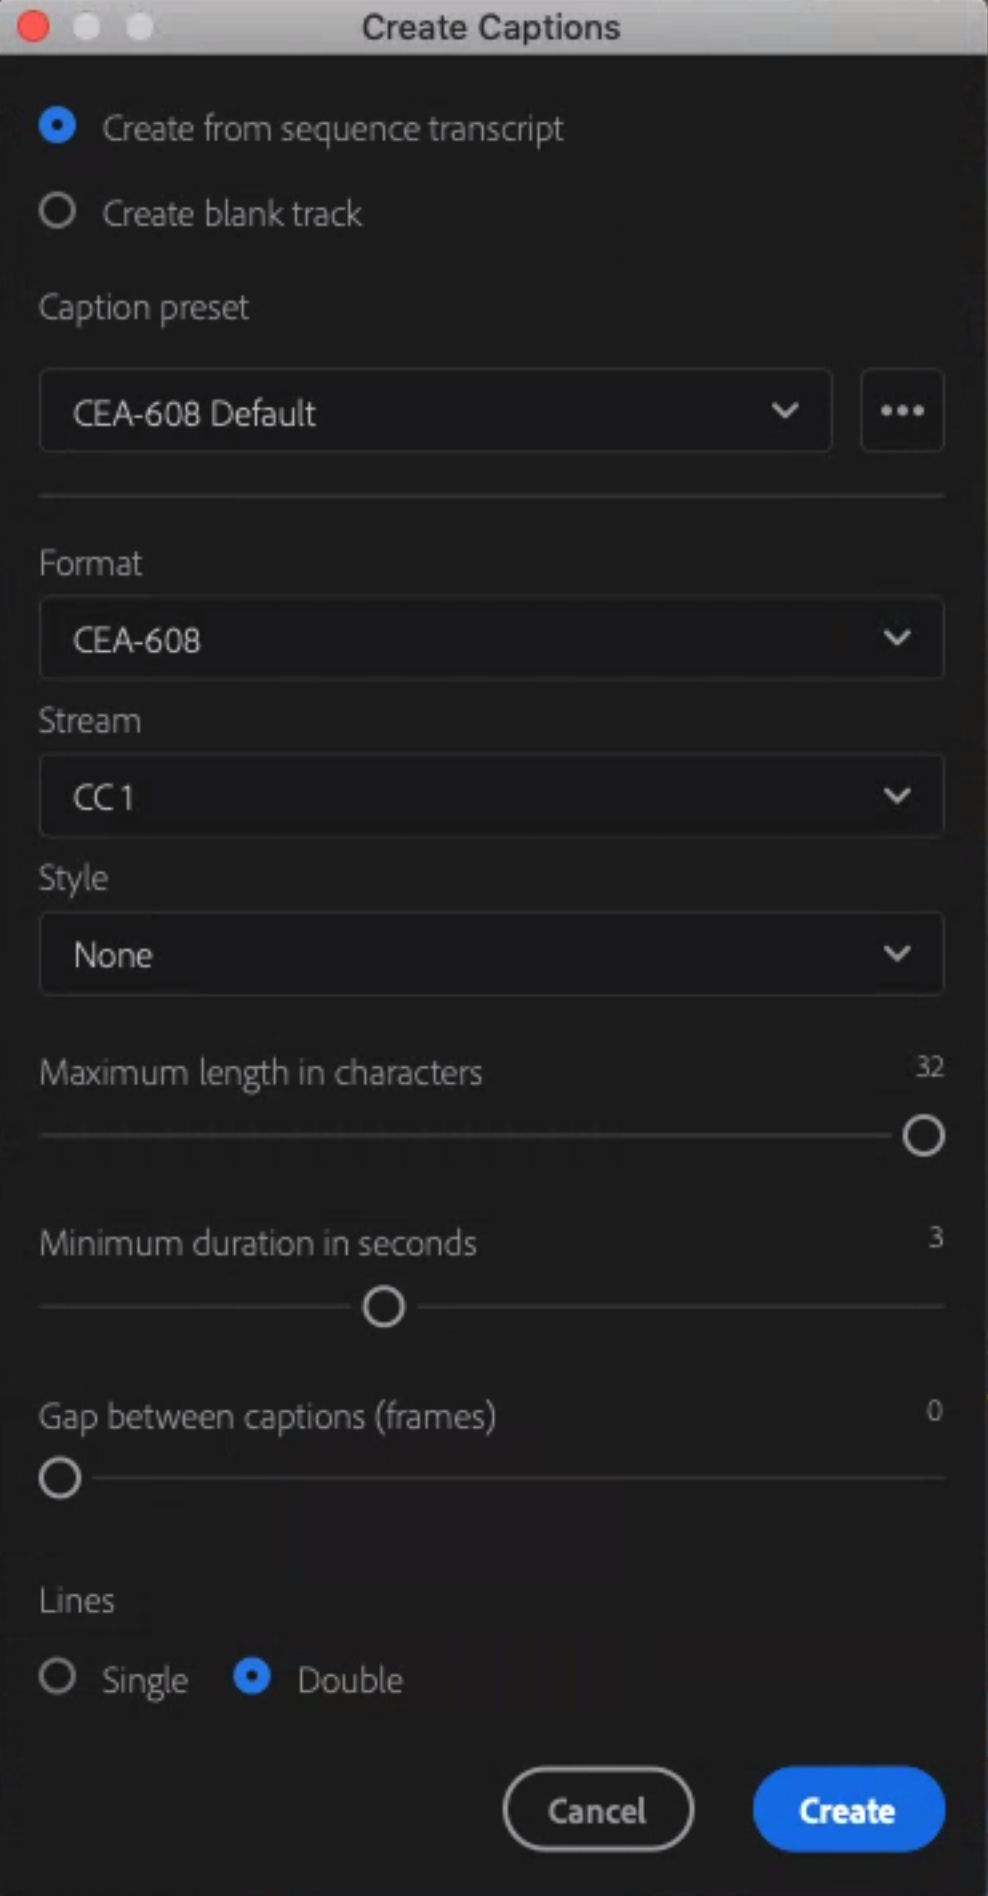
If there is a specific caption format that you need to follow (ie CEA-608 or CEA-708) you can select it under “Caption preset”. Adjust Formate, Stream, and Style as needed. You can also set whether or not you want single or double line captions, and how long you want each caption to be.
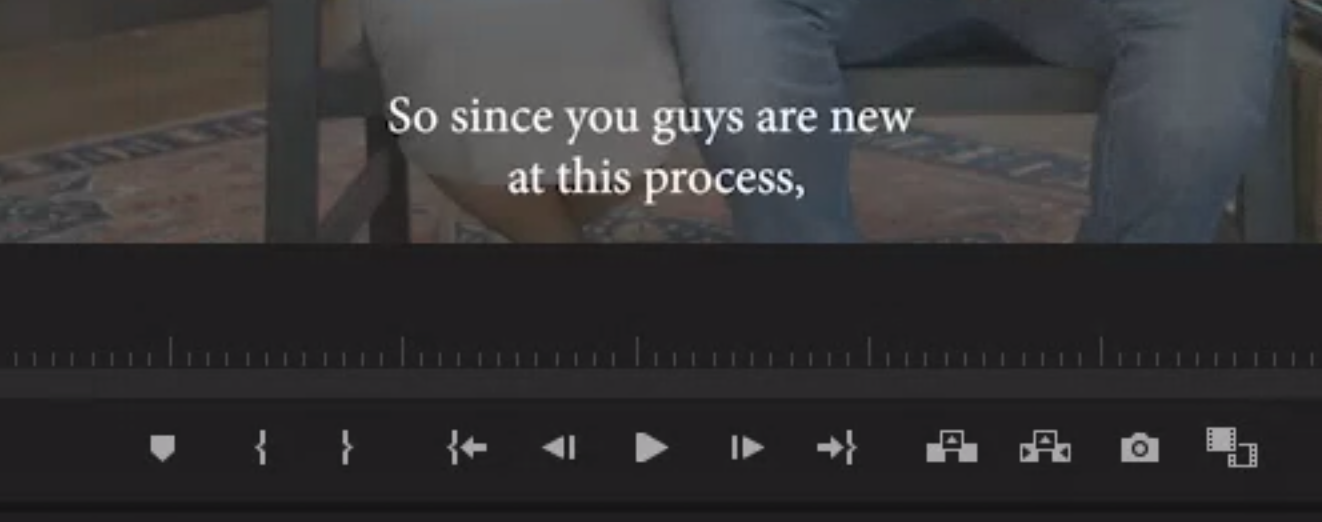
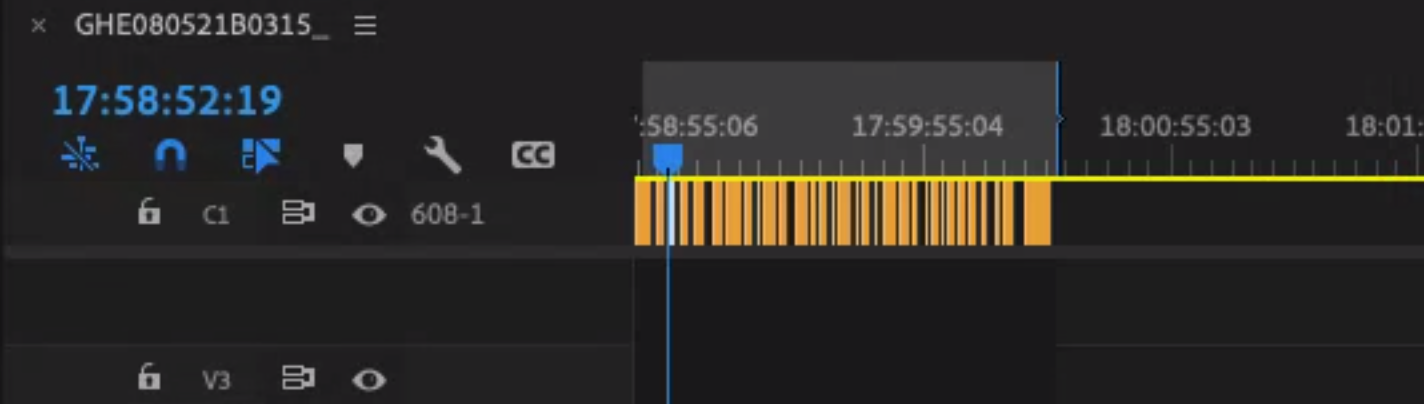
After Premiere generates the caption files, you will see the caption text in your record monitor and a yellow caption track at the top of your sequence.
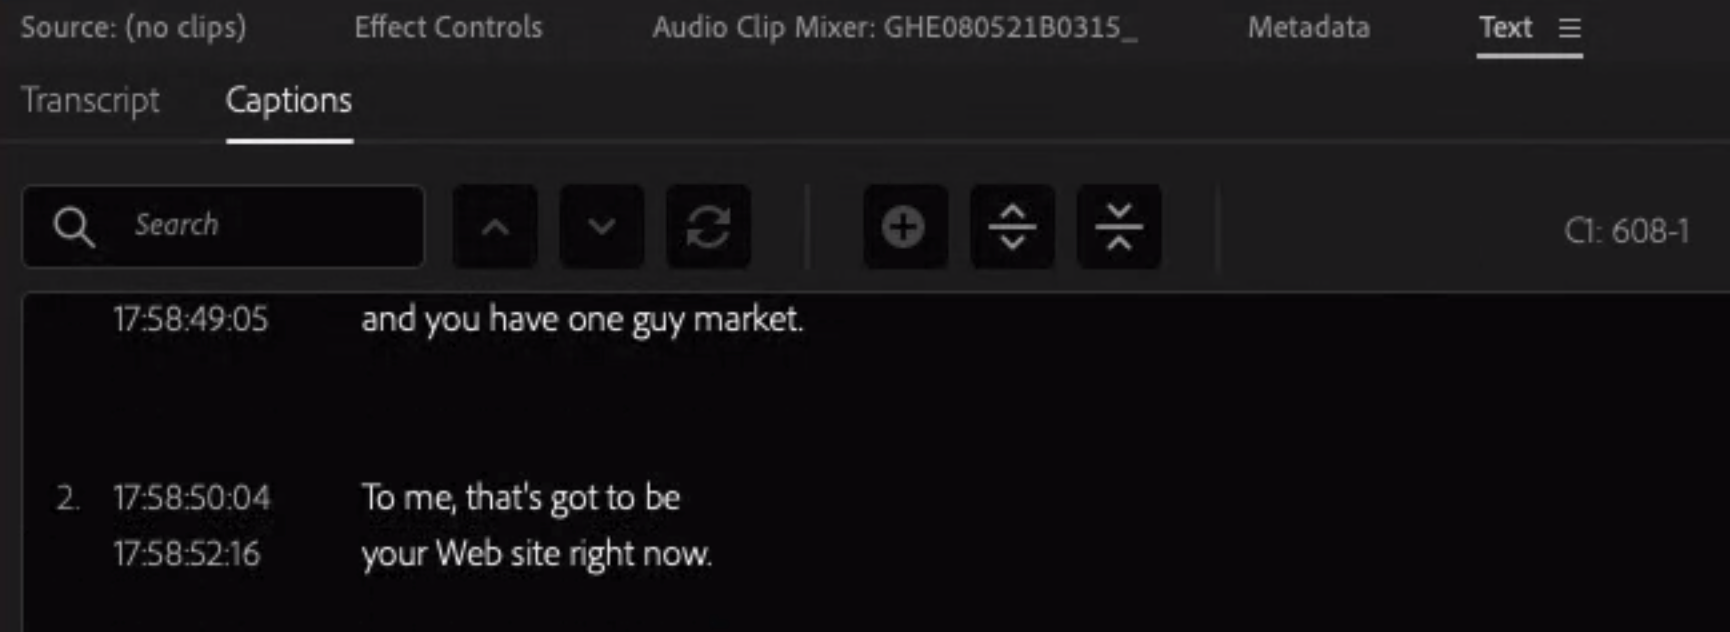
You will also see the full caption list, with timecode, in the Text tool under the Captions tab.
Exporting Transcript and Caption Files
Premiere can export both the transcript and caption files for use with a third party editor or reader.
To export a plain text version of the transcript for your producers:
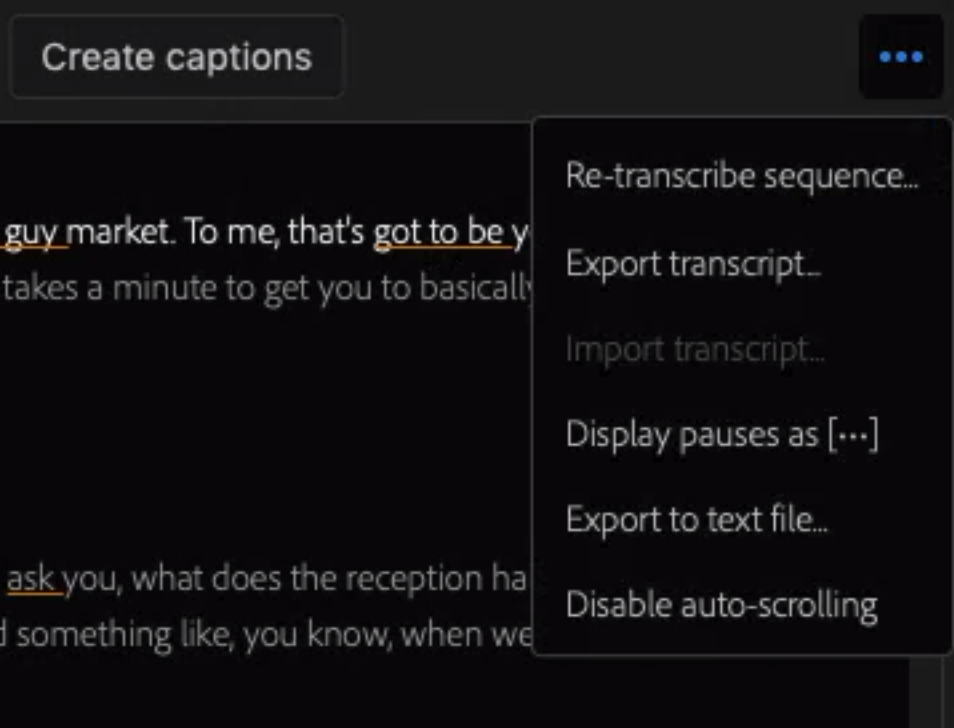
- Go to the Text tool, under the Transcripts tab.
- Click the Three Dot menu in the top right of the window and select “Export to text file…” NOTE: The “Export Transcript” option saves a proprietary Adobe transcript formatted file that cannot be read by a standard text editor.
- Choose the destination and file name for the transcript and select “Save”.
While Premiere can generate CEA-608 and CEA708 caption formats, it can only export directly to a SRT or Text file. Currently the Text tool cannot export to SCC, CAP, or other caption formats.
To export a SRT or Text caption file:
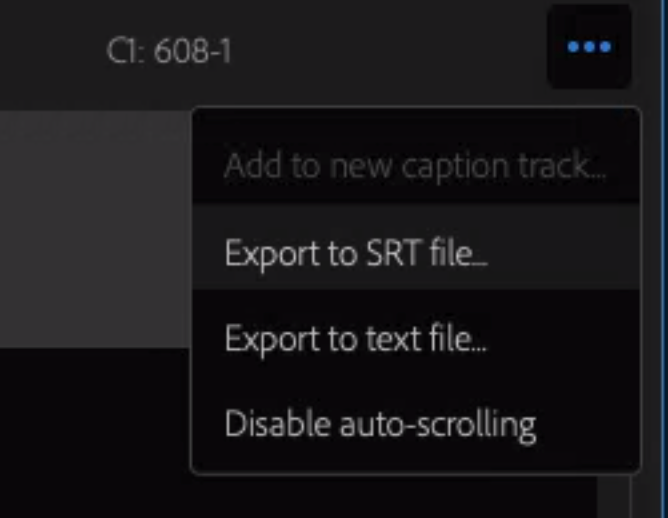
- Go to the Text tool’s Captions tab.
- Click the Three Dot menu and selected either “Export to SRT File” or “Export to text file…”
- Choose the destination and file name for the transcript and select “Save”.
Final Thoughts
Premiere’s new built-in transcription capabilities are a great benefit to those who have Adobe’s Creative Cloud subscriptions. And while there are still a few features I would love to see Adobe add (why are timecode and speaker information not included in the transcript exports?), for those who have small budgets or a tight turn around, this is a solid and accurate solution for getting your team the transcripts or captions they need.

As an Amazon Associate, Nerdypup.com may earn a small commission from qualifying purchases.